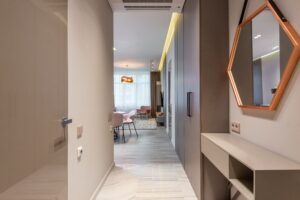

Time for a wardrobe in the hall
How to plan a wardrobe in the hall?
- First of all, remember that the hallway closet should have enough space for: winter and transitional jackets, hats, scarves, handbags, and shoes.
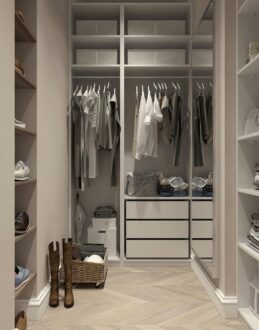
- The hanging rail should be adjusted to your height. Ideally, it should be within arm’s reach. See the graphic below for the best adjustment.
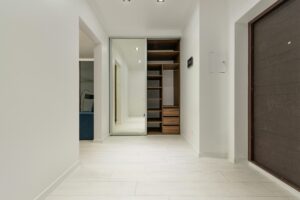
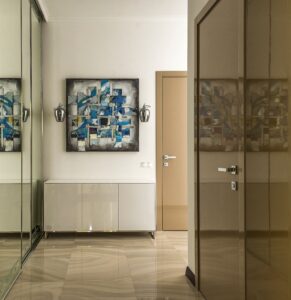
- The wardrobe fronts can be a mirror, allowing you to not only check your appearance before leaving but also visually enlarge the space.
- If your hallway/entryway has both a wardrobe and a smaller shoe cabinet, the ideal solution is:
- The shoe cabinet will hold shoes you currently wear.
- The wardrobe will also house shoes you wear seasonally or for special occasions.
- It’s worth using a drawer system in your wardrobe for shoes, scarves, or hats. The shoe drawer can also be equipped with a silicone insert for easy cleaning.
- If your wardrobe reaches all the way to the ceiling, consider a Space Step system instead of a traditional plinth. This system will allow you to reach the upper sections of the wardrobe without having to bring an additional stool.
- It’s a good idea to have a ottoman or a special seat next to the wardrobe for sitting when putting on your shoes.
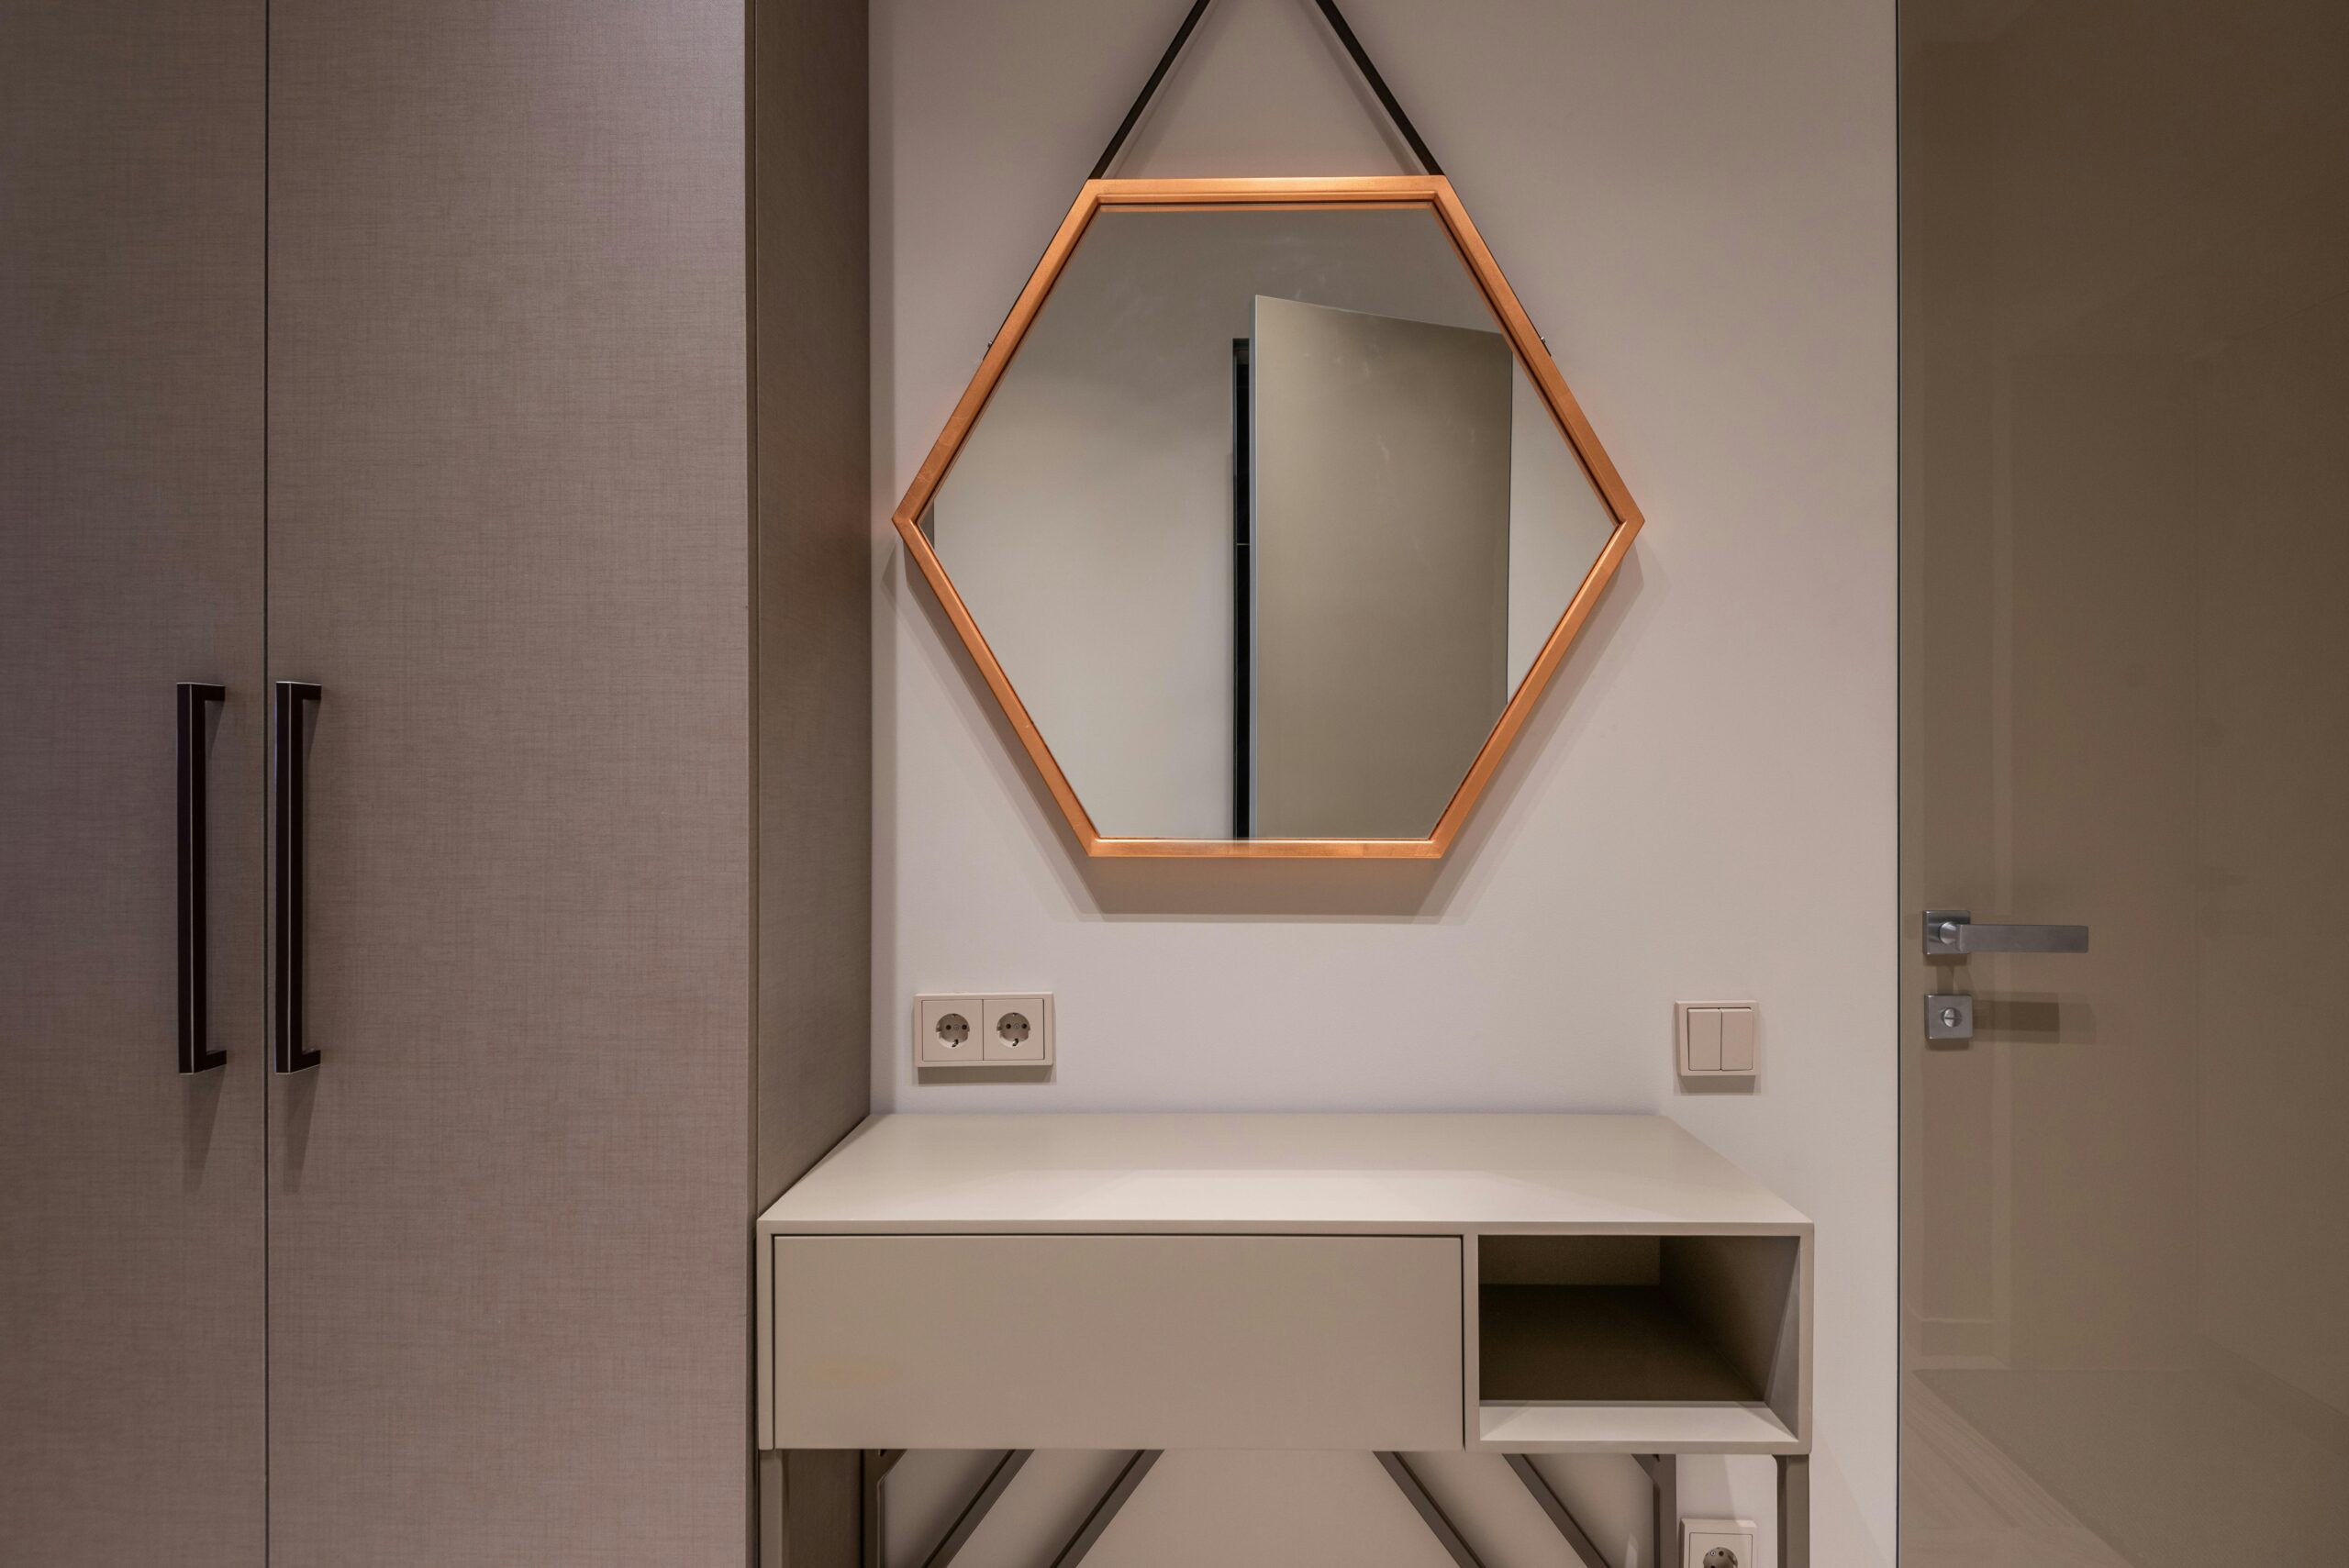
- Due to the frequent use, it’s important for the fronts of your hallway wardrobe to be fingerprint- and scratch-resistant. This will preserve the overall appearance of your wardrobe for longer.
- If you frequently and willingly entertain guests, you can divide the wardrobe into more private and public areas. This way, not everyone will see what’s inside.
- In apartments, the hallway wardrobe often doubles as a utility closet.In such cases, it’s worth including a space for a vacuum cleaner, iron, or ironing board.


Lacquer, acrylic, veneer, or laminate? Which material should you use for your furniture?
Fingerprint-resistant, impact-resistant, antibacterial, scratch-resistant, durable… But which ones should you really choose?
Lacquered fronts
This is one of the most common methods for carpenters to finish fronts. Lacquered fronts can have three finishes: matte, semi-matte, and glossy (also known as gloss). The varnish color is chosen based on the aforementioned RAL color chart, which is worth checking with a carpenter. Varnishing can be done using a special machine or by the carpenter themselves, provided they have the appropriate equipment and skills.
A varnished kitchen, even if made of ordinary furniture board, feels much more upscale. Furthermore, the variety of varnishes means everyone can find something to suit their needs. Glossy varnished fronts are a great solution for small kitchens, as they pleasantly brighten the space and visually enlarge it. Furthermore, a good varnish can protect the front from scratches, and minor imperfections can be touched up with a small brush.
Unfortunately, varnished fronts are difficult to keep clean. In some cases, even the smallest marks will be visible and difficult to clean. Lacquered fronts are also a more expensive solution than laminate and are characterized by low resistance to mechanical damage.
Acrylic fronts
Acrylic fronts, or acrylic laminate, are an alternative to traditional lacquered fronts. Acrylic fronts are characterized by higher resistance to damage, scratches, and UV radiation. Furthermore, acrylic fronts are much easier to clean, as their pore-free surface makes them easier to clean.
Acrylic fronts are available in a limited number of colors, making it difficult to match them perfectly to your preferences.
Furthermore, these fronts can only be made with specific thicknesses of furniture board, with a minimum thickness of 18 mm.

Veneered fronts
If you want your fronts to resemble real wood, veneer can provide just that. Veneer is a natural veneer, a thin “slice” of wood glued to the surface of a furniture board. We use a 0.6 mm thick veneer on the furniture surface. Unlike surfaces covered with, for example, laminate, veneer retains the properties and appearance of the wood.
There are four wood cutting methods that produce completely different effects: plain sawn, quarter sawn, rift sawn, and live sawn. If you’re particularly interested in a specific effect, ask your carpenter about the possibility of using veneer from a specific cut. Veneered fronts are available with semi-matte or glossy varnish, although fully matte varnishes are becoming increasingly popular.
The advantages of veneered fronts include, above all, quality. If the fronts are made of high-quality materials and raw materials, they can be more durable than varnished or wood fronts. Another advantage of veneered fronts is their environmental friendliness and aesthetic appeal. Such fronts can have very interesting grain patterns, without having to cut down a hectare of trees.
When choosing a material, it’s worth remembering that veneer fronts are more expensive than laminated or lacquered ones. The process of preparing a kitchen using this material can also be longer.
Laminated fronts
Laminate has recently become one of the fastest-growing finishing materials. Current laminates can imitate not only wood, but also stone, tile, and concrete.
Laminate is one of the most affordable materials available for kitchen design.Furthermore, the market offers a wide selection of colors and patterns, ensuring you’ll always find something you like at an affordable price.
It’s important to remember, however, that laminate is a synthetic material. Despite manufacturers’ best efforts, laminate imitating wood will still only imitate it.
One of the greatest advantages of laminates is their versatility, meaning they can be used on both fronts and countertops. Everything depends on the availability of suitable laminates at a furniture wholesaler.
Furthermore, laminates are resistant to abrasion, high temperatures (e.g., near a cooktop), and can be antibacterial. However, they should not be used between upper and lower cabinets if a gas cooktop is planned.
It’s also worth remembering that although the laminate surface is waterproof, the core is made of wood. There’s a risk of material swelling, especially around the sink, if the edges of the cutout are not properly secured. We also don’t use milled handles on laminate fronts, only traditional or click-fit solutions. This is because the laminate board is a finished product that is simply cut and fitted by a carpenter, not individually formed.